Configuring the payroll calendar
Article ID
12156
Article Name
Configuring the payroll calendar
Created Date
1st April 2019
Problem
Configuring the payroll calendar.
Resolution
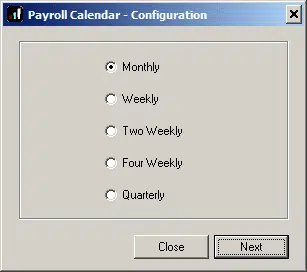
Go to Company | Payroll Calendar. Select which pay frequency you wish to configure and click Next.
Payroll Calendar – Configuration
The system will create a calendar for you based on the information you enter on this screen.
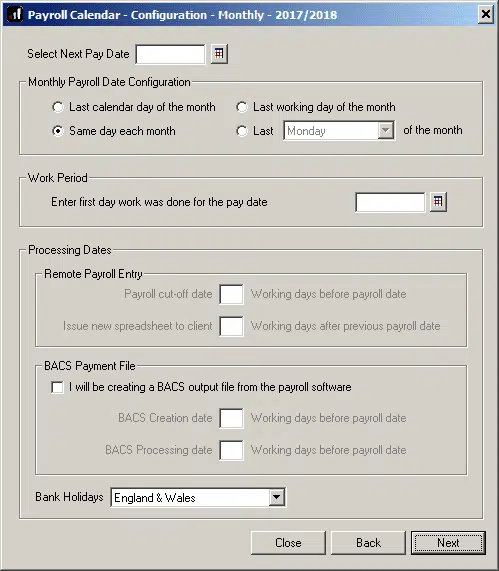
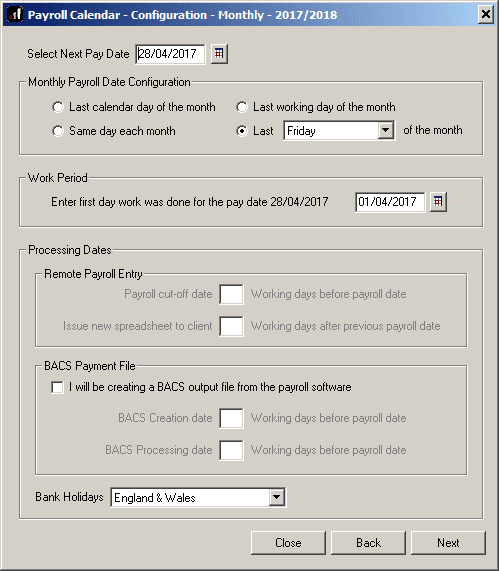
Select Next Pay Date – Enter the date you want to next pay the employees on this pay frequency. Below this select the repeating pattern you want to apply to this frequency.
Work Period – In relation to the pay date you entered above, enter the first date the employee is being paid for.
Remote Payroll Entry – If you have the Remote Payroll Entry (RPE) module on your licence you will here be able to configure system warnings at specific dates to encourage your clients to complete their payroll variations in a timely manner. If you do not have RPE on your licence these details will be greyed out and unavailable.
BACS Payment File – If you are going to be processing BACS payment file you can tick the box here to enable system warnings at specific periods to help ensure you create and upload BACS files in a timely manner.
Bank Holidays – Select either England & Wales, Scotland or Northern Ireland.
Once you have entered all the relevant dates etc., click Next to go to the Payroll Calendar
The Payroll Calendar
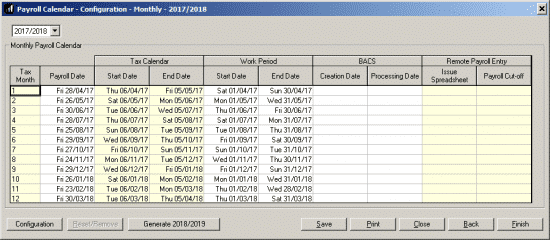
The Payroll Calendar allows you to define the start and end date for each work period in the year. You can also define BACS Processing and Creation dates.
The payroll calendar links with Statutory Maternity Pay, Statutory Paternity Pay and Statutory Adoption Pay in order to calculate the correct weeks to be paid in the payroll run.
You can enter the start and end dates to the calendar at any time but the data must be completed before creating a new statutory payment record. I.e. if a monthly paid employee is starting on SMP, the monthly calendar tab will need to be completed before setting up the statutory payment.
Once you have entered a period’s start date, the subsequent start and end dates will automatically be populated from the first entry to the end of the year. If you start using the payroll software part way through the year you can configure the calendar from this point.
It is not possible to miss out any dates e.g. if the end of month 1 is set to 30th April the beginning of month 2 must be 1st May. The payroll software will check automatically the dates for you before saving the data.
You can edit one-off dates if you need to, for example, if you pay early for Christmas, by typing directly in the grid.
Configuration – Takes you back to the Payroll Calendar – Configuration screen, see section above.
Reset/Remove – Completely clears the calendar for this pay frequency
Generate – If you want to generate the calendar for the next tax year, you can do so by clicking the Generate button. You will then be able to move between tax years by clicking on the drop-down arrow in the top left corner of the Payroll Calendar
Save – Save the current set up
Print – Print a hard copy of the calendar
Close – Close the screen
Back – Go back to the Configuration screen
Finish – Save and Close
We are sorry you did not find this KB article helpful. Please use the box below to let us know how we can improve it.